How A Reddit User Fixed The Unfunctional PS5 Controller X Button
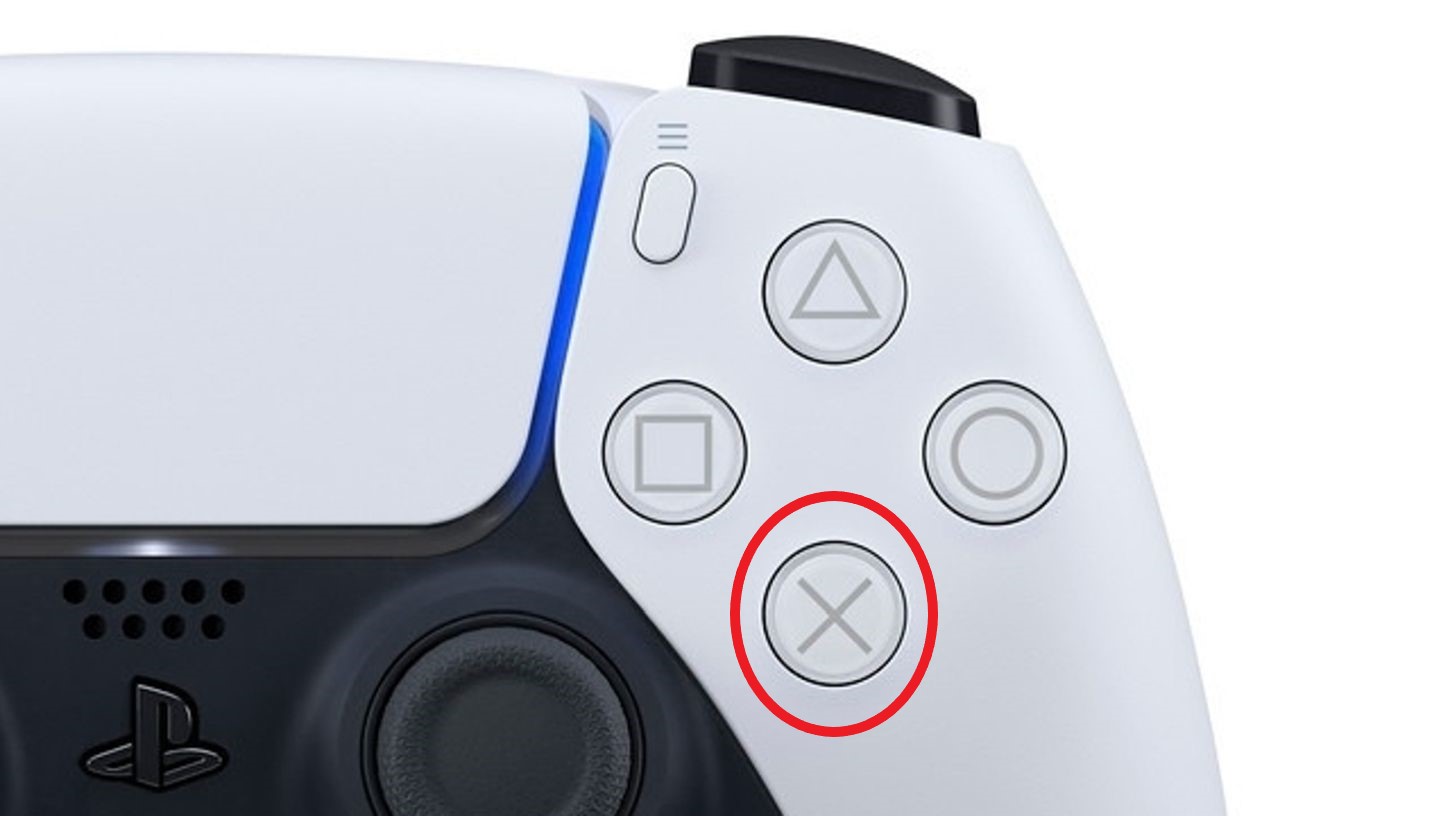
If you’ve encountered the frustrating problem of the X button on your PS5 DualSense controller not working properly, you’re not alone. Many users have reported similar issues, with the button only responding when simultaneously touching the touchpad or squeezing the controller.
Fortunately, one resourceful user on a Reddit thread discovered a simple DIY solution to this problem.
In this article, we’ll guide you through the steps to fix the X button issue on your PS5 controller.
The Problem
Some users began noticing that the X button on their DualSense controller started malfunctioning. Traditional troubleshooting methods, such as replacing face buttons, conductive keypad films, cleaning connections with IPA, securing ribbon cables, and even hitting the side of the controller, proved ineffective.
The Solution
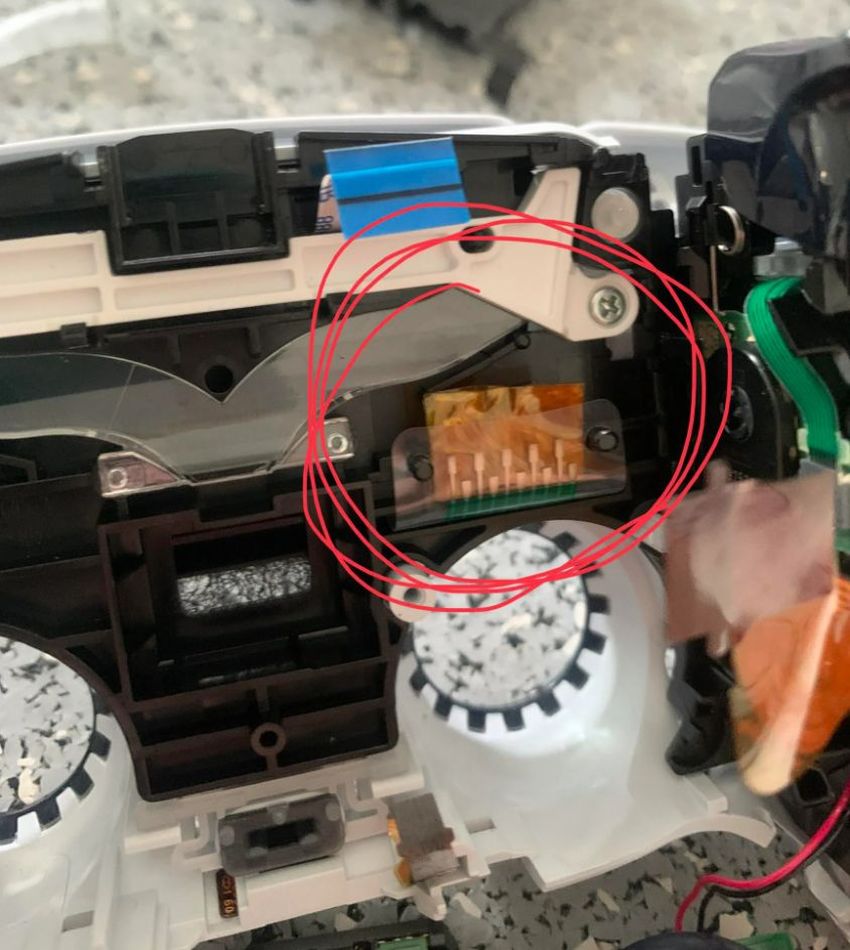
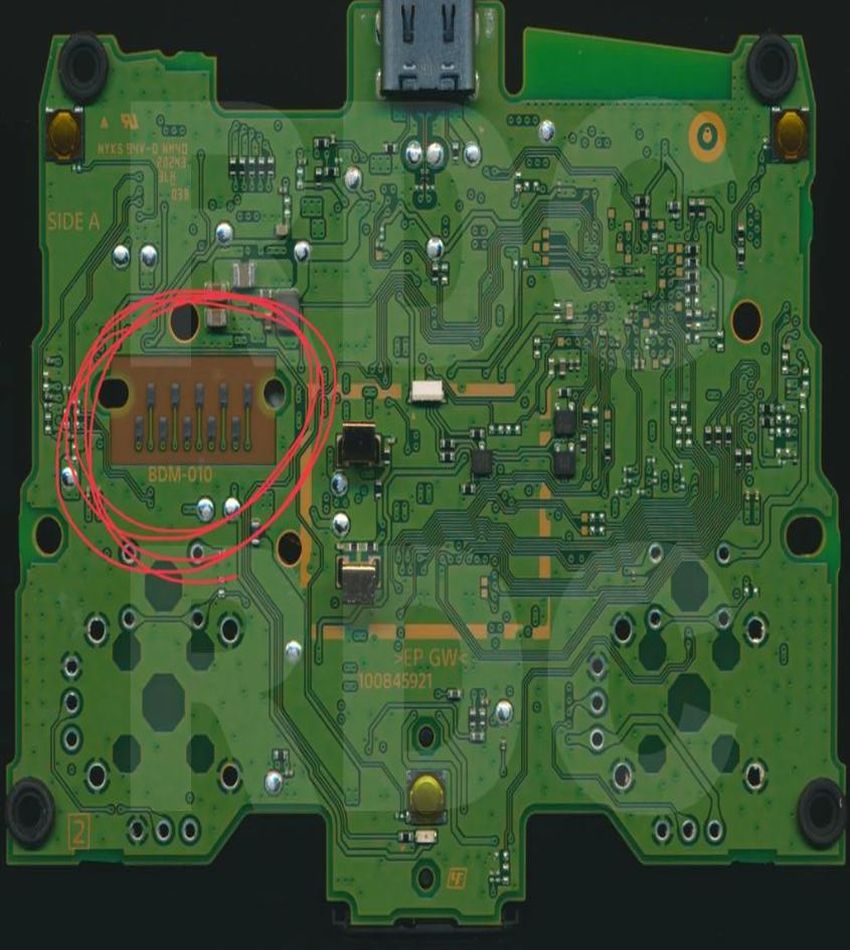
Upon closer inspection, A Reddit user discovered that the issue was related to a pad that pushes the conductive keypad film against the PCB. Over time, this pad seemed to wear down, resulting in a loss of connection. The breakthrough came when the user realized that squeezing the controller flexed the PCB, temporarily resolving the problem.
To fix the issue, the user decided to experiment with adding pressure to the specific area where the conductive pad meets the PCB. The material of choice for this DIY fix was rolled-up Kapton tape. Kapton tape is an electrical insulating material that doesn’t interfere with electronics, making it an ideal choice for this application.
Step-by-Step Guide
- Identify the Problematic Area: Disassemble your PS5 DualSense controller and identify the area where the conductive keypad film meets the PCB. This is typically the spot where the X button malfunctions.
- Prepare Kapton Tape: Cut a small piece of Kapton tape and roll it into a thin cylinder. The goal is to create a cushion that will reintroduce pressure in the problem area.
- Place Kapton Tape: Carefully place the rolled-up Kapton tape under the conductive pad connector, ensuring it doesn’t interfere with any other components. The tape should act as a buffer to maintain pressure on the conductive pad.
- Reassemble the Controller: Put your controller back together, ensuring all components are properly aligned and secured.
- Test the X Button: Power on your PS5 and test the X button. You should notice a significant improvement in responsiveness.
Conclusion
While this DIY fix may seem unconventional, it has proven to be effective for many users experiencing the PS5 controller X button issue. If you’re facing similar problems and are out of warranty, this method could save you from the frustration of a malfunctioning controller. Always exercise caution when disassembling electronics, and remember that attempting this fix may void your warranty. If you’re uncomfortable performing these steps, consider seeking professional assistance. With a bit of patience and the right materials, you can restore your PS5 controller to full functionality.
Source: https://www.reddit.com/r/PS5/comments/12vt084/fixed_ps5_x_button_not_working/


![The Best 4TB SSD Upgrades For PS5 [2024]](https://www.gaming.ac/wp-content/uploads/2023/12/ps5-ssd-768x432.jpg)
![The Best 4k Gaming Monitor For PS5 [2024]](https://www.gaming.ac/wp-content/uploads/2024/10/ps5-4k-gaming-monitor-768x432.webp)